Based Logs #14 - Shadow Mapping in OpenGL
Adding shadows for directional lights
June 1, 2024
One of the ways to implement shadows is via a technique called “shadow mapping”. There are implementation differences for each different light type (i.e directional light, point light, spot light). In this case I’ll be implementing it for directional lights to start. Here is the high level idea…
- Render the scene from the light’s perspective
- Generate a depth buffer using the perspective above (called shadow map)
- We can use the shadow map to figure out which parts are in the shadow
- Darken the fragments that are determined to be inside the shadow
First let’s create the class we will use to generate the shadow map. All we need is a framebuffer with a depth attachment that we will sample in our shader.
glGenFramebuffers(1, &_fbo);
glBindFramebuffer(GL_FRAMEBUFFER, _fbo);

glGenTextures(1, &_depthMapTexture);
glBindTexture(GL_TEXTURE_2D, _depthMapTexture);
glTexImage2D(GL_TEXTURE_2D, 0, GL_DEPTH_COMPONENT, _width, _height, 0, GL_DEPTH_COMPONENT, GL_FLOAT, NULL);
glTexParameteri(GL_TEXTURE_2D, GL_TEXTURE_MIN_FILTER, GL_NEAREST);
glTexParameteri(GL_TEXTURE_2D, GL_TEXTURE_MAG_FILTER, GL_NEAREST);
glTexParameteri(GL_TEXTURE_2D, GL_TEXTURE_WRAP_S, GL_CLAMP_TO_BORDER);
glTexParameteri(GL_TEXTURE_2D, GL_TEXTURE_WRAP_T, GL_CLAMP_TO_BORDER);
float borderColor[] = {1.0f, 1.0f, 1.0f, 1.0f};
glTexParameterfv(GL_TEXTURE_2D, GL_TEXTURE_BORDER_COLOR, borderColor);

glFramebufferTexture2D(GL_FRAMEBUFFER, GL_DEPTH_ATTACHMENT, GL_TEXTURE_2D, _depthMapTexture, 0);

// We do NOT need a colour buffer, only a depth buffer for shadows.
glDrawBuffer(GL_NONE);
glReadBuffer(GL_NONE);
Before I start going through the code snippets one thing to note is for now we will only support shadows for one directional light source. Why? well typically there should only be one directional light source in the scene (i.e the sun). But also, we would need to re-render the scene again for every additional light source. There are better ways to handle this but I’m here to get a grasp on how shadow mapping works.
We will need a vertex shader that handles drawing the models from the light’s perspective. This is very similar to our regular vertex shader with LightSpaceMatrix instead. We will need to provide a view and projection matrix that maps to the light’s perspective. The model matrix will be the same we provide in the other case.
#version 330 core
layout(location = 0) in vec3 aPos;

uniform mat4 ModelMatrix;
uniform mat4 LightSpaceMatrix;

void main() {
    gl_Position = LightSpaceMatrix * ModelMatrix * vec4(aPos, 1.0);
}
We leave the fragment shader empty because we actually don’t even have a colour buffer in our shadow map. There is no point to do extra processing.
// We only use the depth map for shadow mapping.
#version 330 core

void main() {

}
Here are the implementation details with detailed comments to explain each area.
void Scene::Render()
{
    CalculateDeltaTime();

    // We write to the shadow map in this phase and generate the depth texture
    ShadowRenderPass();

    // This is our regular render pass
    NormalRenderPass();
}
void Scene::ShadowRenderPass()
{
// We bind the shadow map so we can write to it.
_shadowMap.Bind();
glClearColor(0.1f, 0.1f, 0.1f, 1.0f);
glClear(GL_COLOR_BUFFER_BIT | GL_DEPTH_BUFFER_BIT | GL_STENCIL_BUFFER_BIT);
glCullFace(GL_FRONT);
// We only support one light... so ignore this loop...
auto directionalLightGroup = Scene::ActiveScene->Registry.view<DirectionalLightComponent, TransformComponent>();
for (auto it = directionalLightGroup.begin(); it != directionalLightGroup.end(); ++it)
{
int index = std::distance(directionalLightGroup.begin(), it);
auto &light = directionalLightGroup.get<DirectionalLightComponent>(*it);
auto &transform = directionalLightGroup.get<TransformComponent>(*it);
_shadowMapShader.Bind();
// We use orthographic projection since directional lights produce light from the exact same angle.
glm::mat4 lightProjection = glm::ortho(-10.0f, 10.0f, -10.0f, 10.0f, 0.1f, 10.0f);
// 1st parameter: the position of our light
// 2nd parameter: where we are looking at, combine the position and the direction of the light
// 3rd parameter: up vector
glm::mat4 lightView = glm::lookAt(transform.Position, transform.Position + transform.GetDirection(), glm::vec3(0.0, 1.0, 0.0));
_lightSpaceMatrix = lightProjection * lightView;
_shadowMapShader.SetMat4(Shader::LIGHT_SPACE_MATRIX, _lightSpaceMatrix);
// We then render all of our models and provide our shadow shader.
RenderModels(_shadowMapShader);
}
glCullFace(GL_BACK);
_shadowMap.Unbind();
}// You probably don't need to see this but this is the regular render pass.
void Scene::NormalRenderPass()
{
_frameBuffer.Bind();
glClearColor(0.1f, 0.1f, 0.1f, 1.0f);
glClear(GL_COLOR_BUFFER_BIT | GL_DEPTH_BUFFER_BIT | GL_STENCIL_BUFFER_BIT);
RenderModels(_modelShader);
RenderLights(_modelShader);
RenderSkyBox(_modelShader);
_frameBuffer.Unbind();
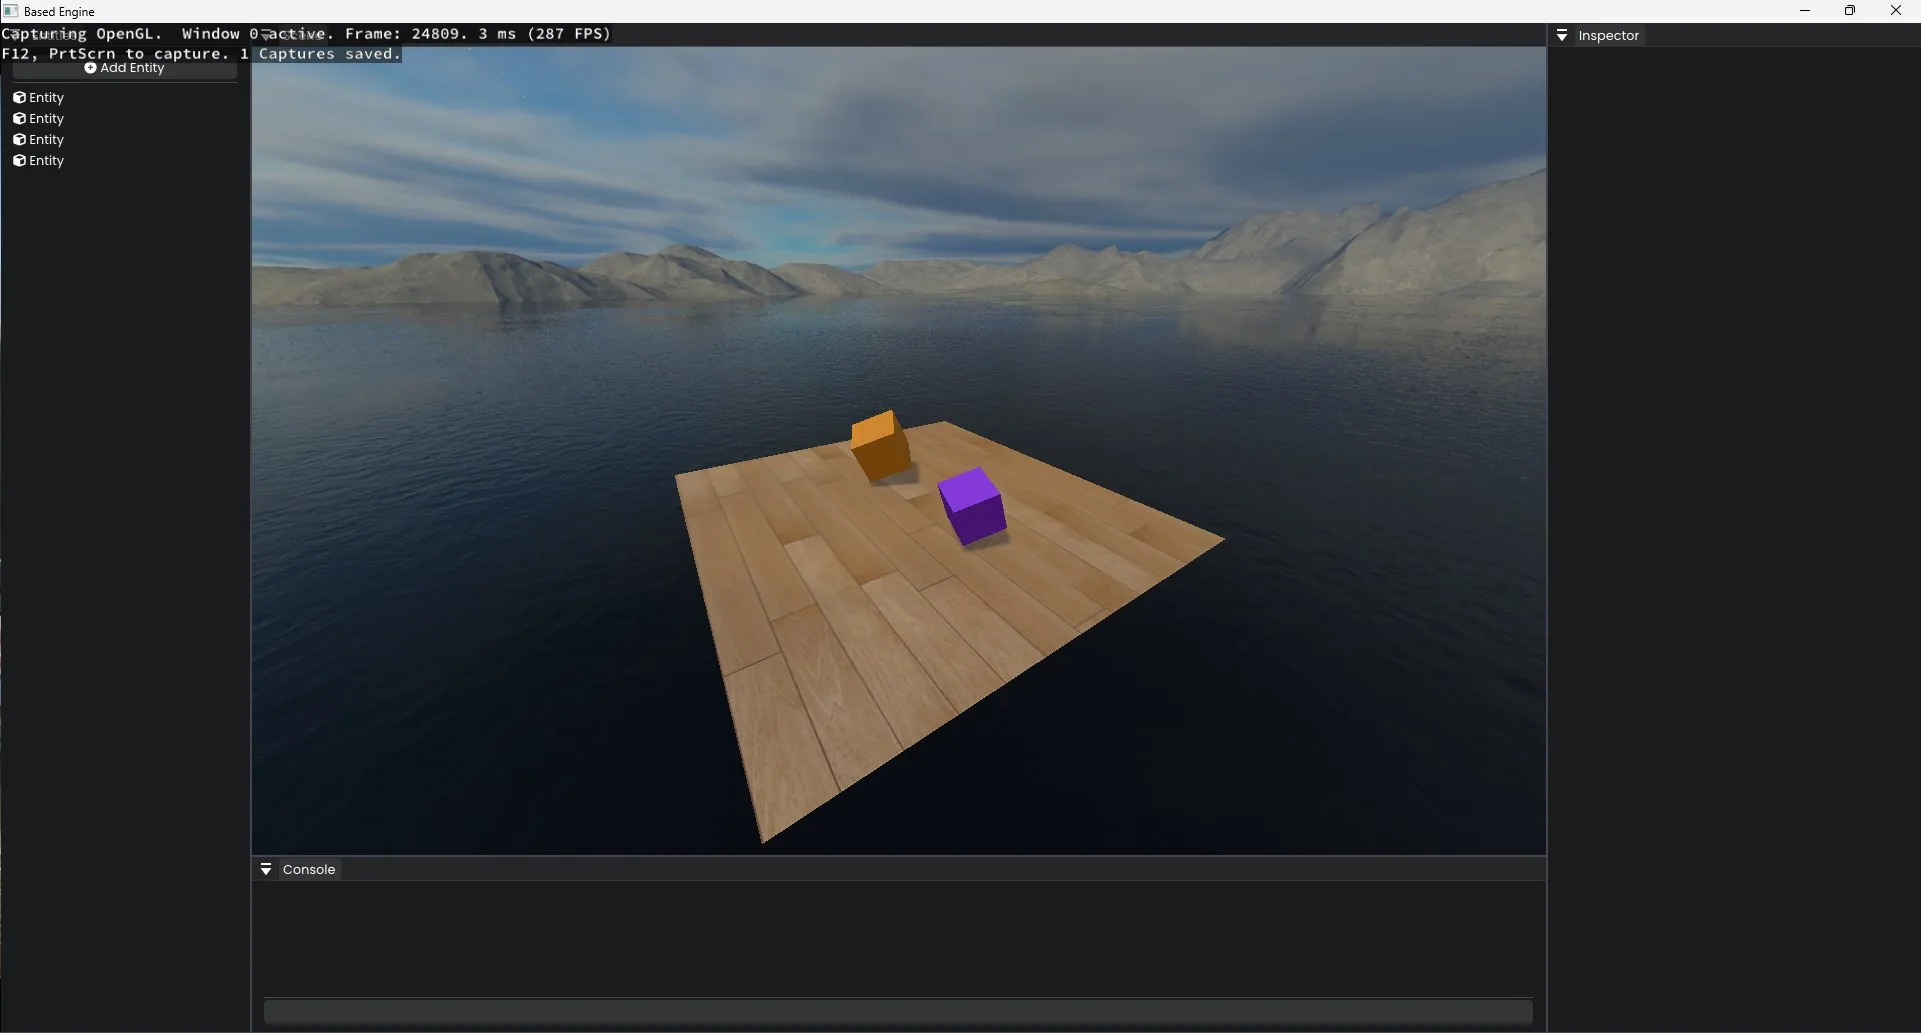
}Before moving on it’s a good idea to view your shadow map and make sure everything is setup correctly. I’ve seen a lot of tutorials recommend drawing the shadow map onto a quad that maps onto your screen. You don’t need to do that. Instead, start getting familiar with RenderDoc and view the texture there.
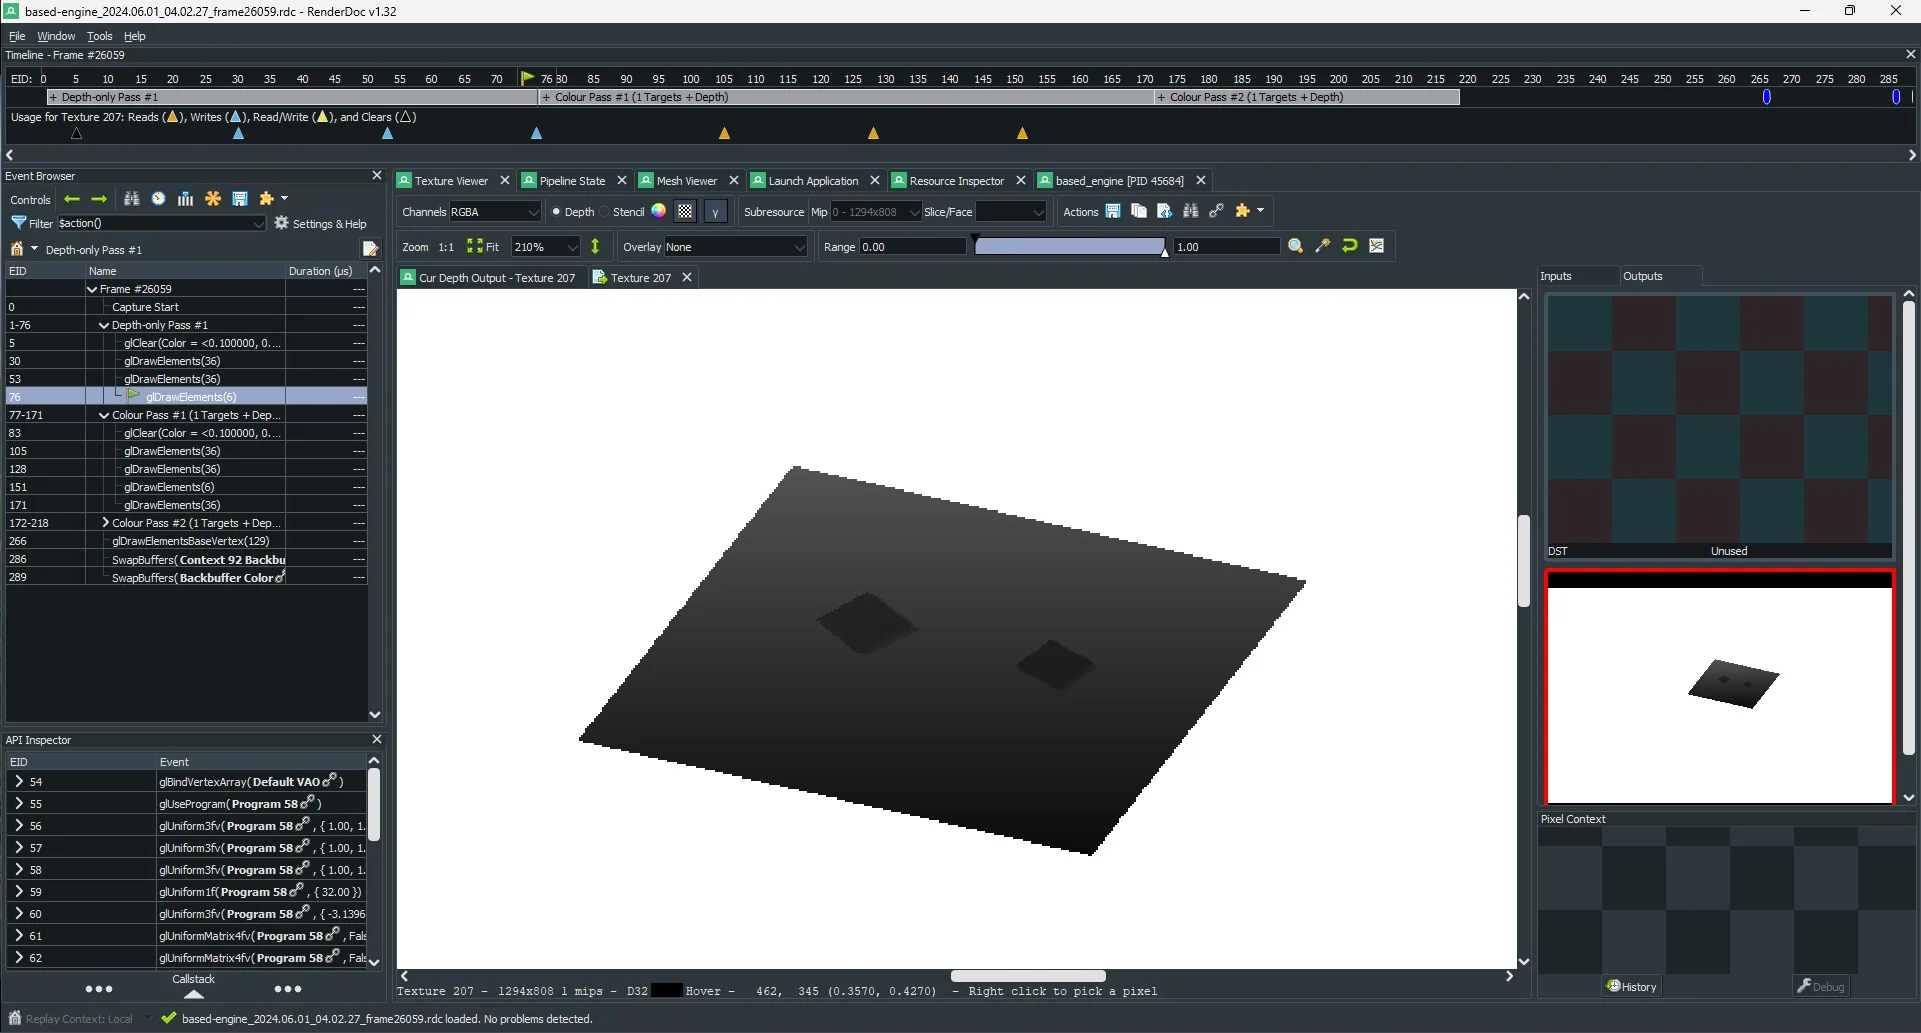
Notice that the perspective of the shadow map is different since the light isn’t in the same position as the camera. We can use this shadow map to figure out what parts of the scene should be in the shadow. Before we do that we need to pass some additional data to our model shaders.
The important part to note is how we set the uniform FragmentPositionLightSpace and then calculate FragmentPositionLightSpace which is passed to the fragment shader.
#version 330 core

layout(location = 0) in vec3 aPos;
layout(location = 1) in vec3 aNormal;
layout(location = 2) in vec2 aTexCoord;

out vec3 Normal;
out vec2 TexCoord;
out vec3 FragPosition;
out vec4 FragmentPositionLightSpace;

uniform mat4 ModelMatrix;
uniform mat4 CameraMatrix;
uniform mat4 LightSpaceMatrix;

void main() {
    Normal = mat3(transpose(inverse(ModelMatrix))) * aNormal;
    TexCoord = aTexCoord;
    FragPosition = vec3(ModelMatrix * vec4(aPos, 1.0));
    FragmentPositionLightSpace = LightSpaceMatrix * vec4(FragPosition, 1.0);

    gl_Position = CameraMatrix * ModelMatrix * vec4(aPos.x, aPos.y, aPos.z, 1.0);
}
// We take in the value from the vertex shader
in vec4 FragmentPositionLightSpace;
/// ...
float ShadowCalculation(vec4 fragPosLightSpace)
{
// When values are output to gl_Position OpenGL automatically does a
// perspective divide. This converts clip-space coordinates to the range
// [-w, w] to [-1, 1]. We need to do this conversion ourselves since we
// are not using gl_Position to pass these values.
vec3 projCoords = fragPosLightSpace.xyz / fragPosLightSpace.w;
// Since the depth buffer has the range [0,1] we need to ensure they are
// within that range.
projCoords = projCoords * 0.5 + 0.5;
// Now we sample the shadow map and see what the closet depth value is from
// the light's perspective.
float closestDepth = texture(shadowMap, projCoords.xy).r;
// This gets the current depth value for the fragment.
float currentDepth = projCoords.z;
// Lastly, if the current depth fragment is greater than the closestDepth, then
// we know that it should be in the shadow (since we have something infront).
float shadow = currentDepth > closestDepth ? 1.0 : 0.0;
return shadow;
}If you did all this correctly you’ll immediately run into an issue called “Shadow acne”. This occurs because multiple fragments can sample the same value from the shadow map. We can fix this by adding a “shadow bias” which offsets the depth of the shadow map… and then we are finished!
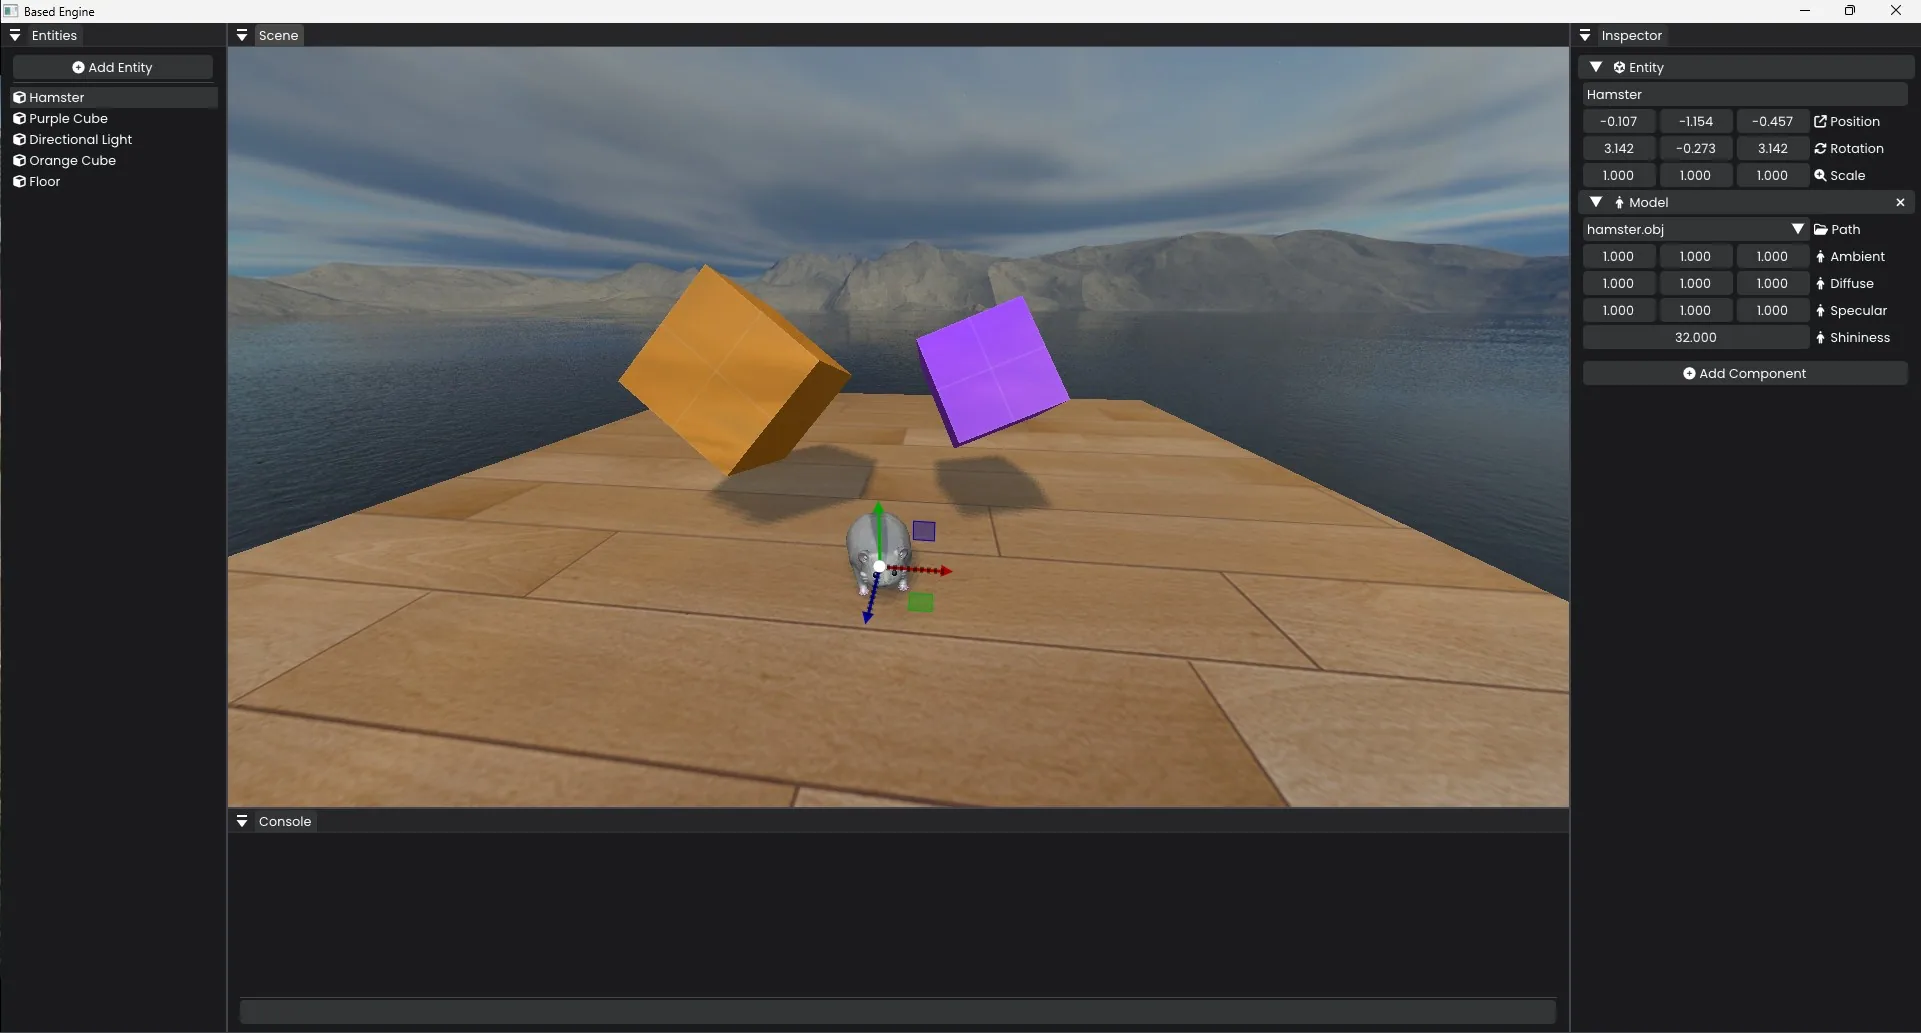
Now there are a number of other changes that improve the shadow quality but I’ll stop here for now. The implementation details for the spot lights are actually quite similar. Instead of using an orthographic projection we just need a perspective projection similar to what our camera would use. Point lights are a little more complicated so we’ll cover both in a future blog.