Based Logs #8 - Stencil Buffer
Fun facts about the stencil buffer and how I wasted multiple hours of my life
May 22, 2024
We have access to the stencil buffer which is able to be updated during rendering to achieve interesting rendering effects. It’s similar to the z-buffer where we have a 2D array of values for every single fragment. In the case of OpenGL we have 8 bits we can store per entry inside of this 2D array.
The stencil test is executed after the fragment shader and has the ability to discard fragments. The remaining fragments are passed to the depth test where even more fragments could be discarded. Now, this is a bit of an aside, but I learned about a feature called “early-z” where the depth test would occur BEFORE the fragment shader ran. It seems like the pipeline would execute in the following order if early-z was available…
- Stencil test is ran
- Depth test occurs (early-z)
- Fragment shader is ran
Regardless, we know it’s fragment -> stencil -> depth without early-z.
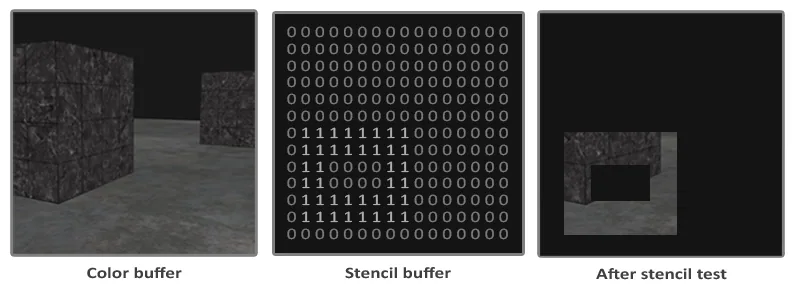
Here is a nice diagram from LearnOpenGL that shows an example of the stencil buffer being filled with 1’s and then discarding the fragments everywhere the stencil value is 0.
One interesting effect you can implement with stencil buffers is an outline. I’m going to throw out some heavily commented code to showcase how I added an outline effect to selected objects. However before I get to that… I wasted multiple hours of my life trying to figure out why I couldn’t write to the stencil buffer.
I haven’t written about framebuffers yet but GLFW ends up creating a framebuffer automatically when creating an OpenGL window. In my project, I had to create my own framebuffer since I needed to map the texture onto an ImGui window. The problem is that I was creating a framebuffer that didn’t have a stencil attachment… only a depth attachment. I’m glad I talked about RenderDoc during my last blog post because using that application is how I finally figured out the stencil buffer didn’t exist.

After realizing this I fixed up my framebuffer implementation and checked RenderDoc again. In RenderDoc you can view the stencil texture to easily see that I’m finally successfully writing to the stencil buffer (the white cube in the middle!).
Now onto the implementation of outlines…
// We need a custom fragment shader for the outline.
// In this case it will just be a simple white outline.
#version 330 core

out vec4 FragColor;

void main() {
    FragColor = vec4(1.0);
}
We need to enable some globals before we start using the stencil buffer.
// Enable stencil testing
glEnable(GL_STENCIL_TEST);

// For each parameter
// 1. If the stencil test fails we should KEEP the currently stored stencil value.
// 2. If the stencil test passes but the depth test fails we should KEEP the currently stored stencil value.
// 3. If the stencil and depth both pass we should replace the stencil value with the reference value set in glStencilFunc.
glStencilOp(GL_KEEP, GL_KEEP, GL_REPLACE);
Now onto the render loop
// 1st pass
// We want to update the stencil buffer with 1s wherever the object's fragments are rendered.
glStencilFunc(GL_ALWAYS, 1, 0xFF);
glStencilMask(0xFF);

model.Render();

// 2nd pass
// We are going to create an outline of our object by increasing the scale of our object.
// We only want to draw the parts of our object that are not equal to 1.
// This way we only draw the part of our object that is outside the previously drawn render pass.
// We disable the depth test so that objects infront don't override the outline.
glStencilFunc(GL_NOTEQUAL, 1, 0xFF);
glStencilMask(0x00);
glDisable(GL_DEPTH_TEST);

auto scaledTransform = transform;
scaledTransform.Scale *= 1.02;

_outlineShader.Bind();
_outlineShader.SetMat4(Shader::CAMERA_MATRIX, Camera::Instance->GetViewProjectionMatrix());
_outlineShader.SetMat4(Shader::MODEL_MATRIX, scaledTransform.GetTransform());

model.Render();

glStencilMask(0xFF);
glStencilFunc(GL_ALWAYS, 0, 0xFF);
glEnable(GL_DEPTH_TEST);
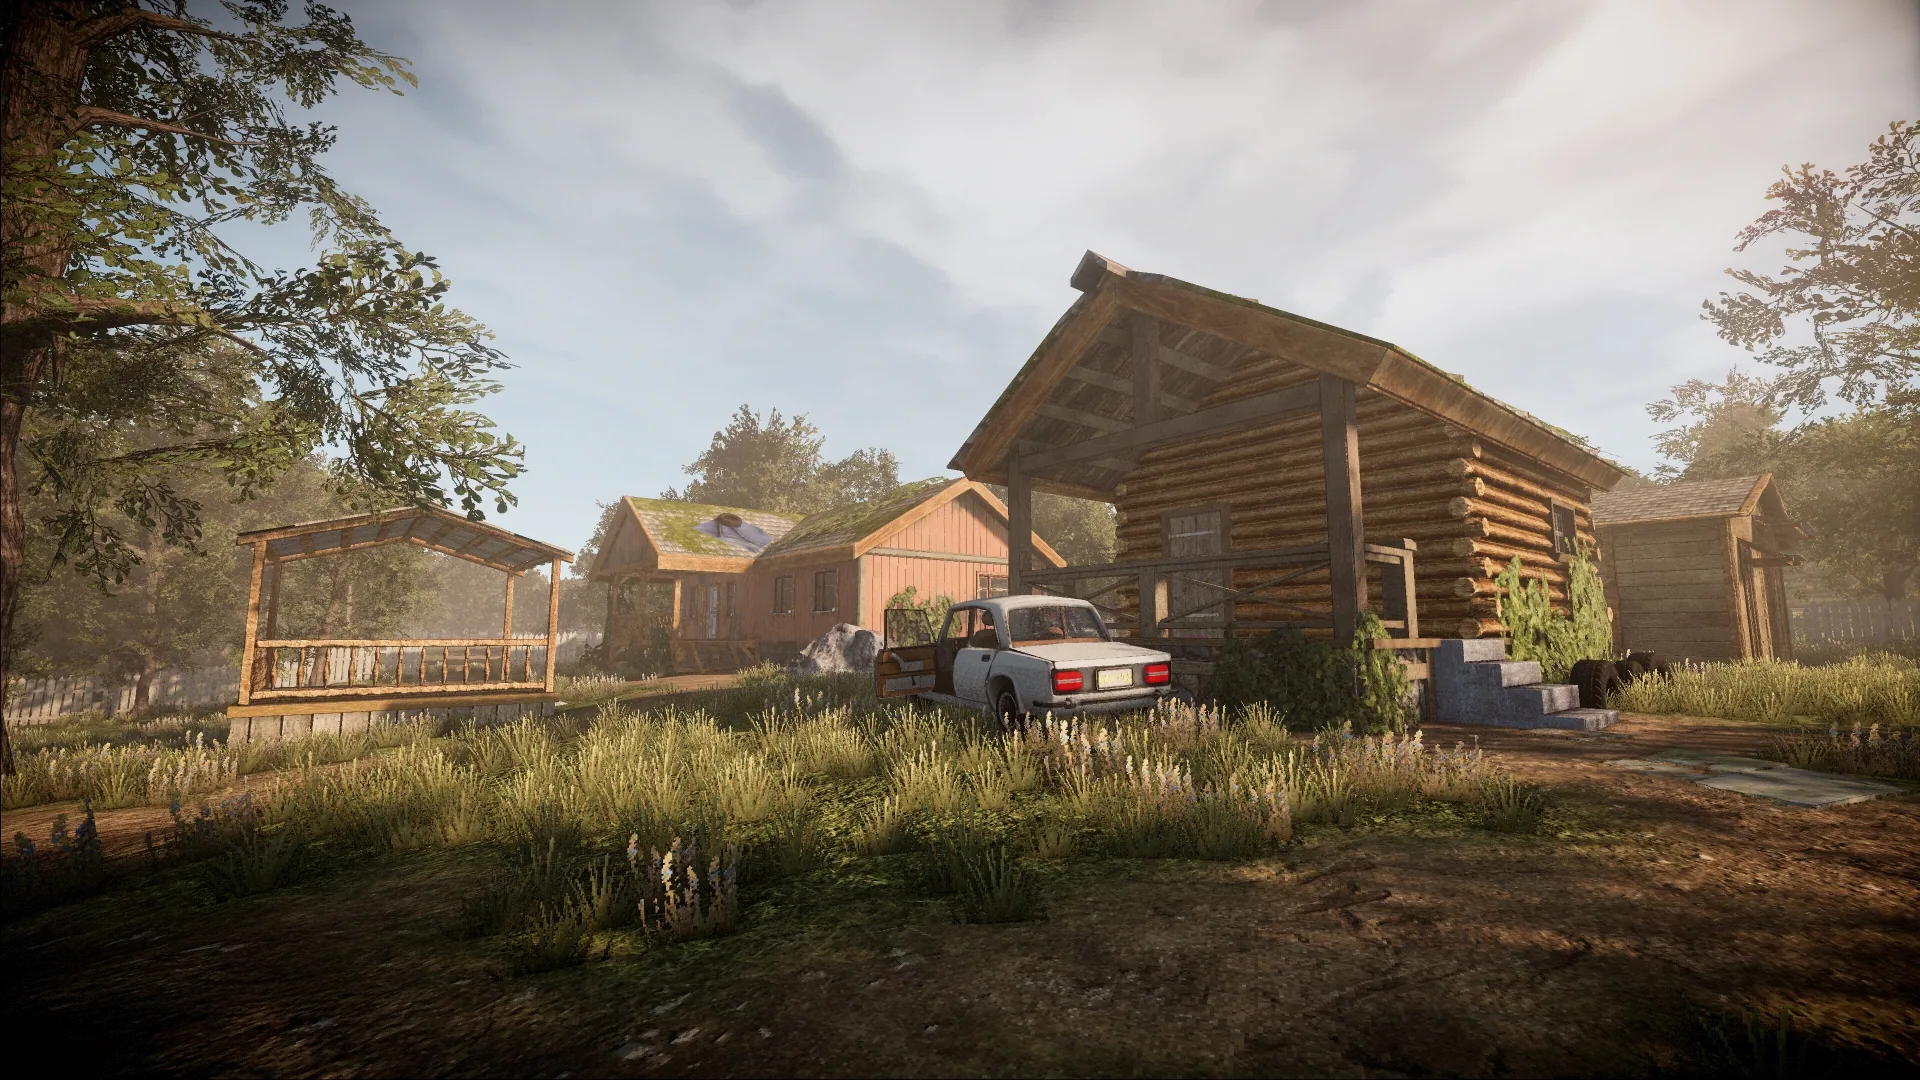
This is the final result of the outlining effect.